You can make the contents of the Clipboard private using the Private Post Wizard. The Private Post Wizard works with files or text data on the Clipboard.
Note: For making files private using the Private Post Wizard see Working with Files.
To make the contents of the Clipboard private:
1.
Click on the Private Post icon ![]() in the Windows Taskbar.
in the Windows Taskbar.
The Private Post menu is displayed.
2. Select Clipboard and then Make Private from the Private Post menu.
The Private Post Wizard window is displayed.
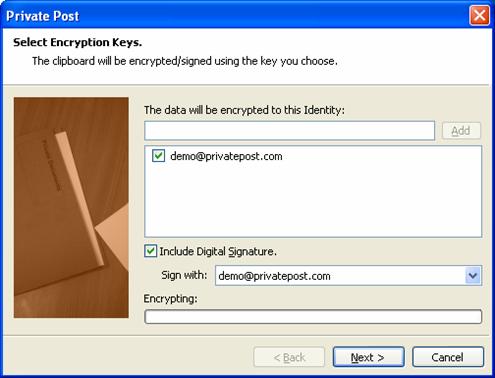
Figure 39 - Private Post Wizard window
3. Enter your email address in the field labelled The data will be encrypted to this Identity and click on the Add button.
Note: If you have previously used the Private Post Wizard your email address is stored in the identities box and you need to ensure that the correct identity is ticked.
4. Click on the Next button.
The Private Post Wizard Complete window is displayed.

Figure 40 - Private Post Wizard Complete window
5. Click on the Finish button.
The encrypted text is on the Clipboard and can be pasted into any text editor application.